Inshore Catch Handling & Photo Guide: Healthy Releases + Better Pics
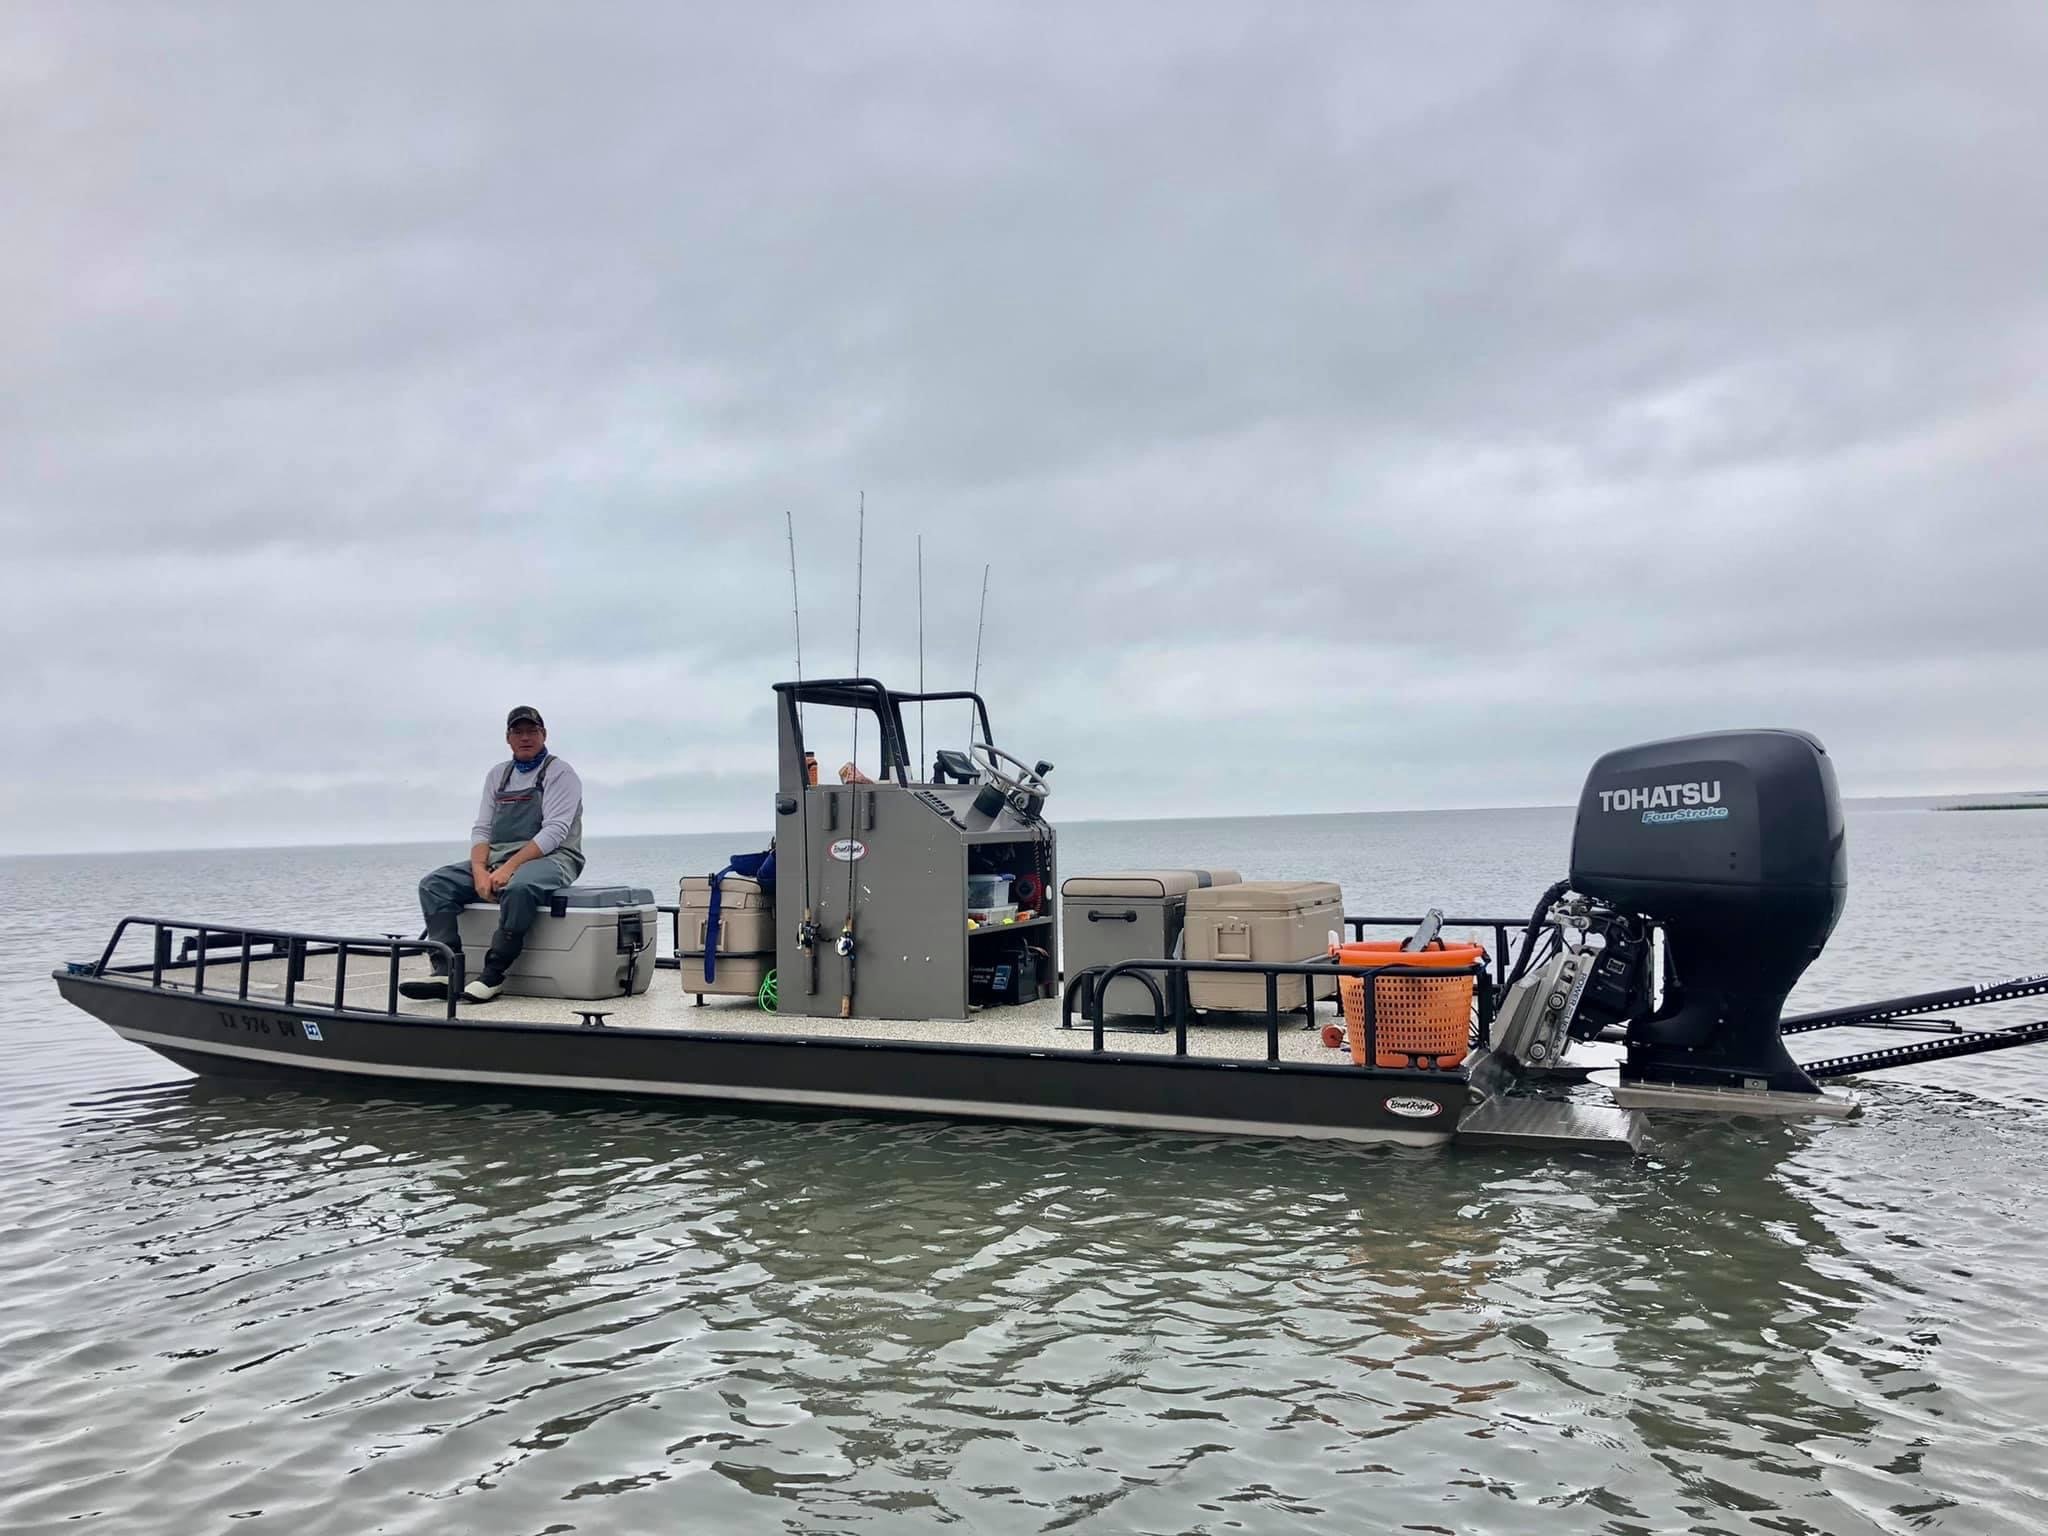
A good inshore day with Rockport fishing inshore isn’t just about the bite. It’s also about what happens at the boat: landing the fish, popping the hook out fast, snapping a clean photo, and sending that fish off strong.
This guide is built for first-timers. It keeps things simple, keeps fish healthier, and helps you get better pics without turning your deck into a fish wrestling match.
The quick answer

Handle a fish for a quick photo and still release it healthy by staging everything first, keeping the fish wet, lifting for one fast photo, and getting it back in the water within a short window. NOAA’s catch-and-release guidance says to keep air exposure as short as possible and notes under 60 seconds is ideal when you do have to lift a fish (NOAA catch-and-release best practices).
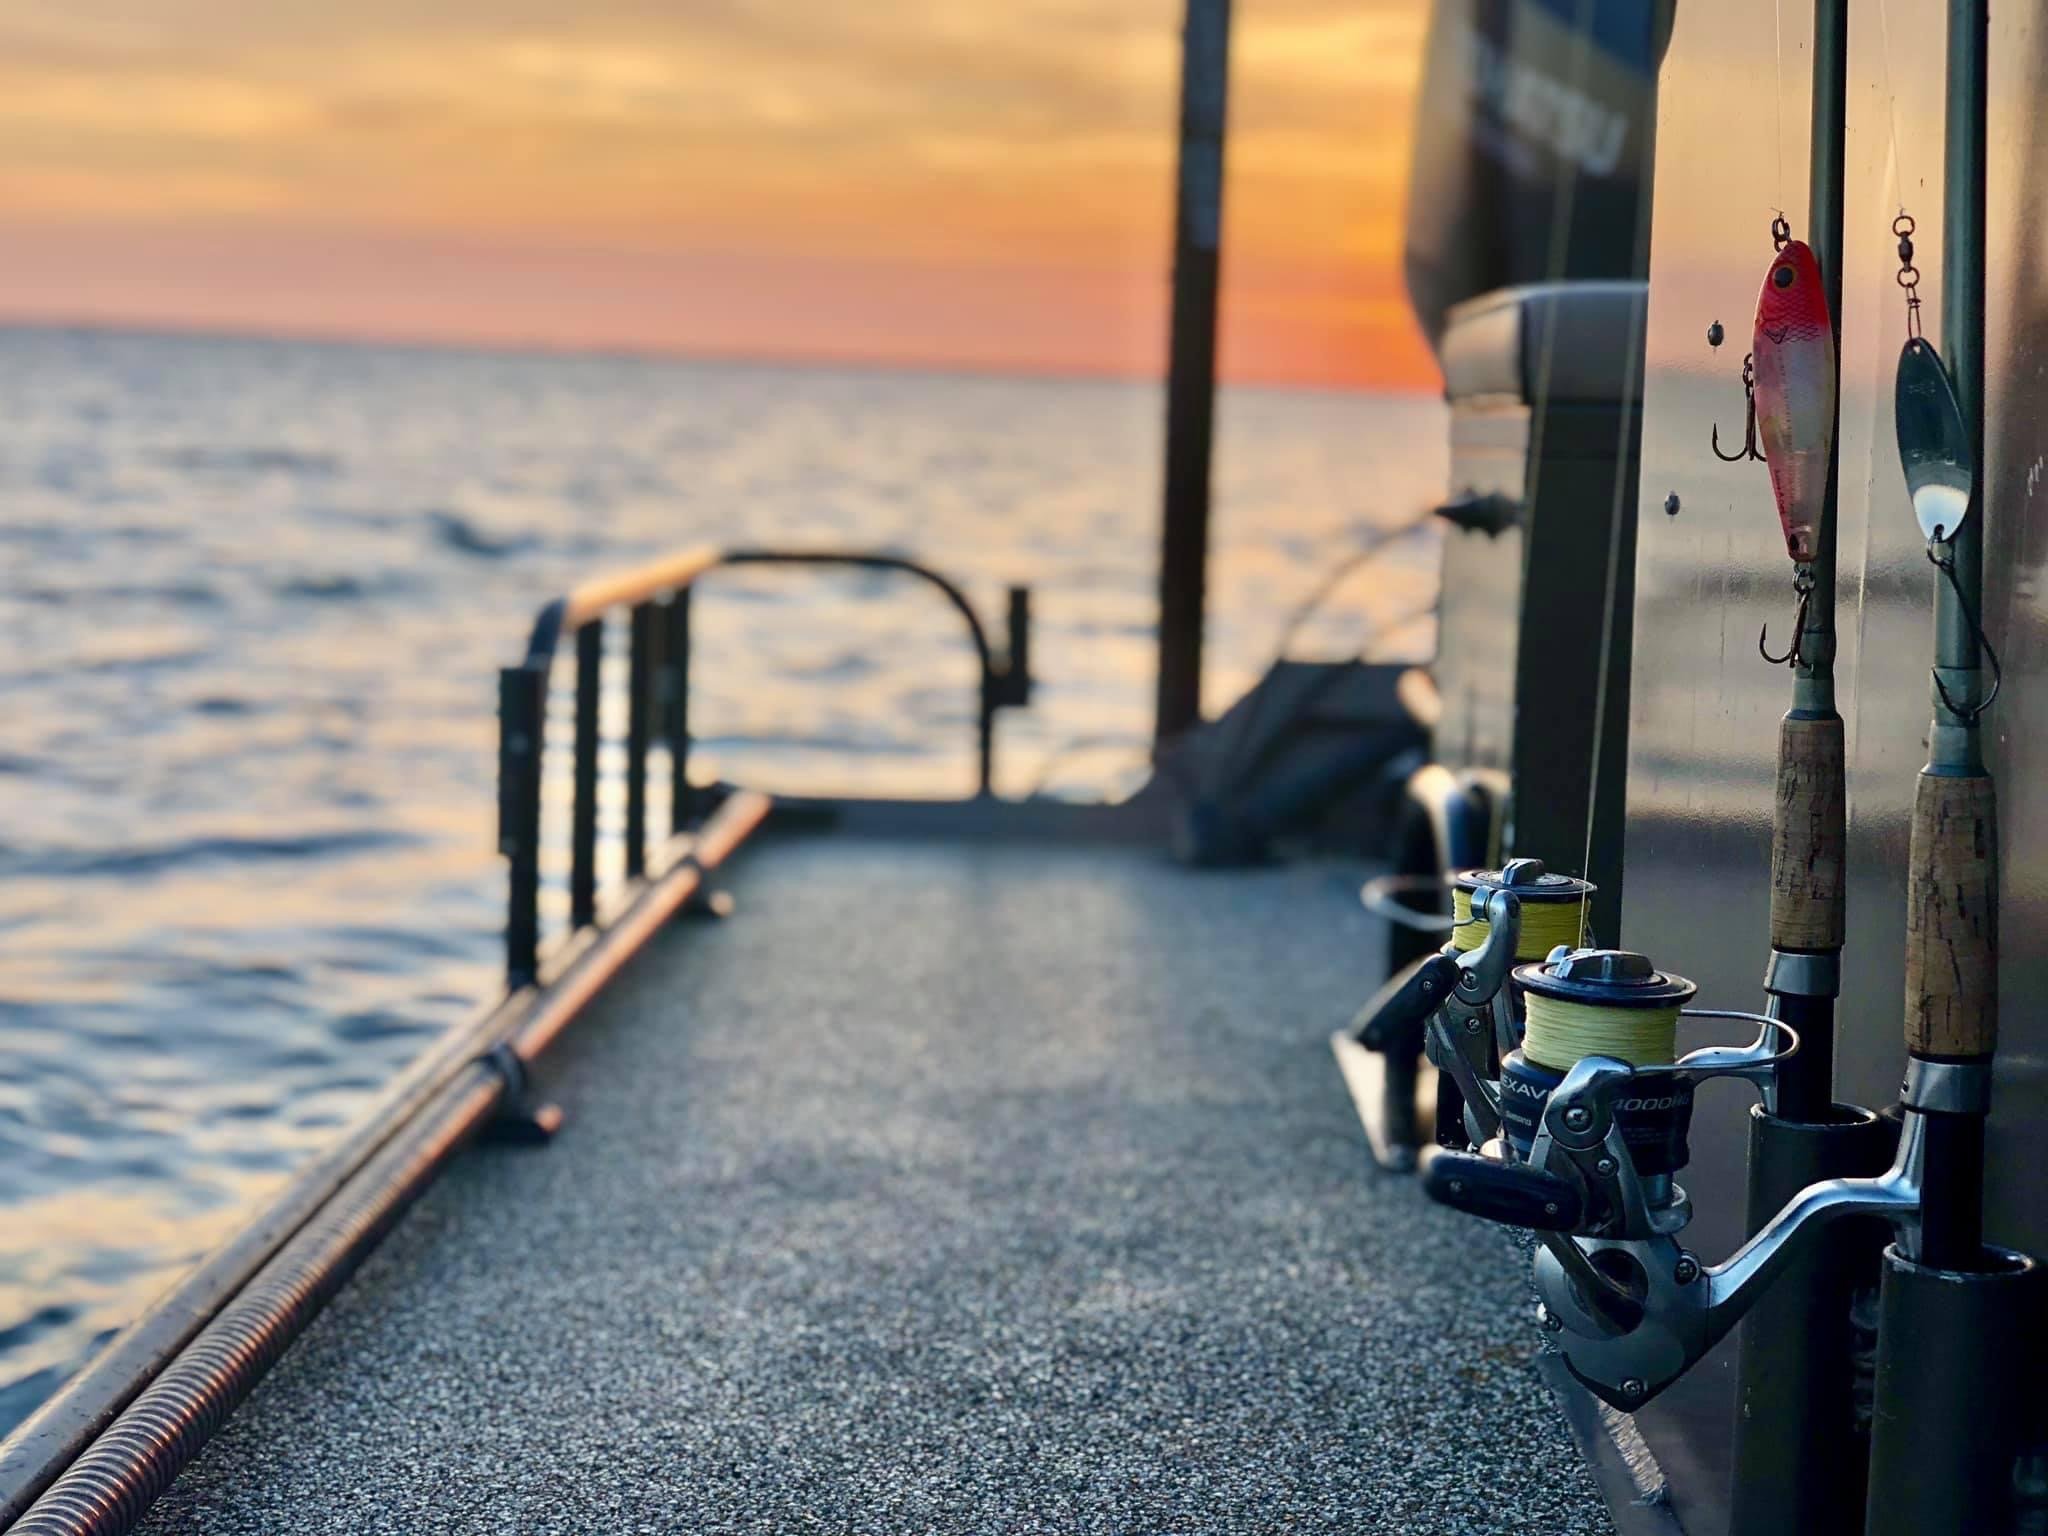
The 30-second setup that changes everything
Most “bad releases” are not from one big mistake. They come from a bunch of small delays: phone locked, pliers missing, net tangled, buddy not ready.
Before you make the first cast, set up this quick station:
Pliers/dehooker: clipped or sitting in the same spot every trip
Net (rubber if you have it): handle facing you, not buried under tackle
Measuring board: within arm’s reach
Phone/camera: on, wiped clean, and ready to shoot
Keep it consistent. The goal is to keep the fish calm and get the job done fast.
Landing the fish without wearing it out
A tired fish takes longer to recover. The easiest way to help a fish survive release is to land it in good shape.
Use gear that matches the job
You do not need heavy gear for everything, but you do need enough to control the fish. A longer fight means more stress. Keep your drag smooth and steady, and do not “play” the fish just because it feels fun.
Net or hand: the simple rule
Net is best for most fish because it controls the fish quickly and keeps it from bouncing on the deck.
Hand land works when the fish is calm and you can support it without squeezing.
Florida FWC’s fish handling guidance emphasizes having the right gear and keeping handling short to reduce stress (FWC fish handling and gear).
Handling basics that protect the fish

Fish are tougher than they look, but they still get hurt easily when we handle them the wrong way.
Wet hands, wet surfaces
Dry hands can remove protective slime. If you must touch the fish, wet your hands first. If the fish has to rest for a second, keep it on a wet measuring board or in a wet net.
Avoid gills and eyes
Gills and eyes are delicate. Texas Parks & Wildlife recommends wet hands and avoiding contact with eyes and gills during handling (TPWD catch and release tips).
Support the body (no “hang and grin”)
For a longer fish, support it with two hands:
One hand at the jaw or lower lip (light grip)
One hand under the belly
This keeps the fish level and reduces stress on the jaw.
Dehooking: fastest, cleanest options
The hook-out moment is where beginners lose the most time. The fix is having a plan.
The 3-tool combo
Pliers: for most single hooks
Dehooker: keeps your hands away from the mouth when the fish is jumpy
Line cutters: for deep hooks or nasty tangles
If the hook is deep, do not force it
If you cannot see the hook point clearly, do not pry and twist until things tear. International Game Fish Association release guidance says that if you cannot remove the hook, cut the leader as close to the hook as possible instead of ripping it out (IGFA release guidelines).
That decision alone saves fish, saves time, and keeps you from getting hooked.
Treble hooks: safer steps
Treble hooks can stick you fast. Keep the fish controlled in the net, keep your hands clear of the swing, and back the points out one at a time. If the lure is a mess, cutting a split ring or cutting the leader can be the safer move.
Air exposure: keep it short without feeling rushed
You do not need to sprint, but you do need a routine. The best photos happen when everyone knows what to do.
Stage the shot first
Before you lift the fish:
Unlock the phone
Pick the background (clean water is better than a cluttered deck)
Decide: hero shot or water-level shot
Tell your buddy exactly when to shoot
Hold the fish over the water
If the fish kicks, it drops into the bay—not onto the deck.
The “one photo” rule
Aim for one clean photo. Two shots max. Then the fish goes back in the water.
Photo playbook: better pics in one try

You can get sharp, brag-worthy photos and still keep the fish healthy.
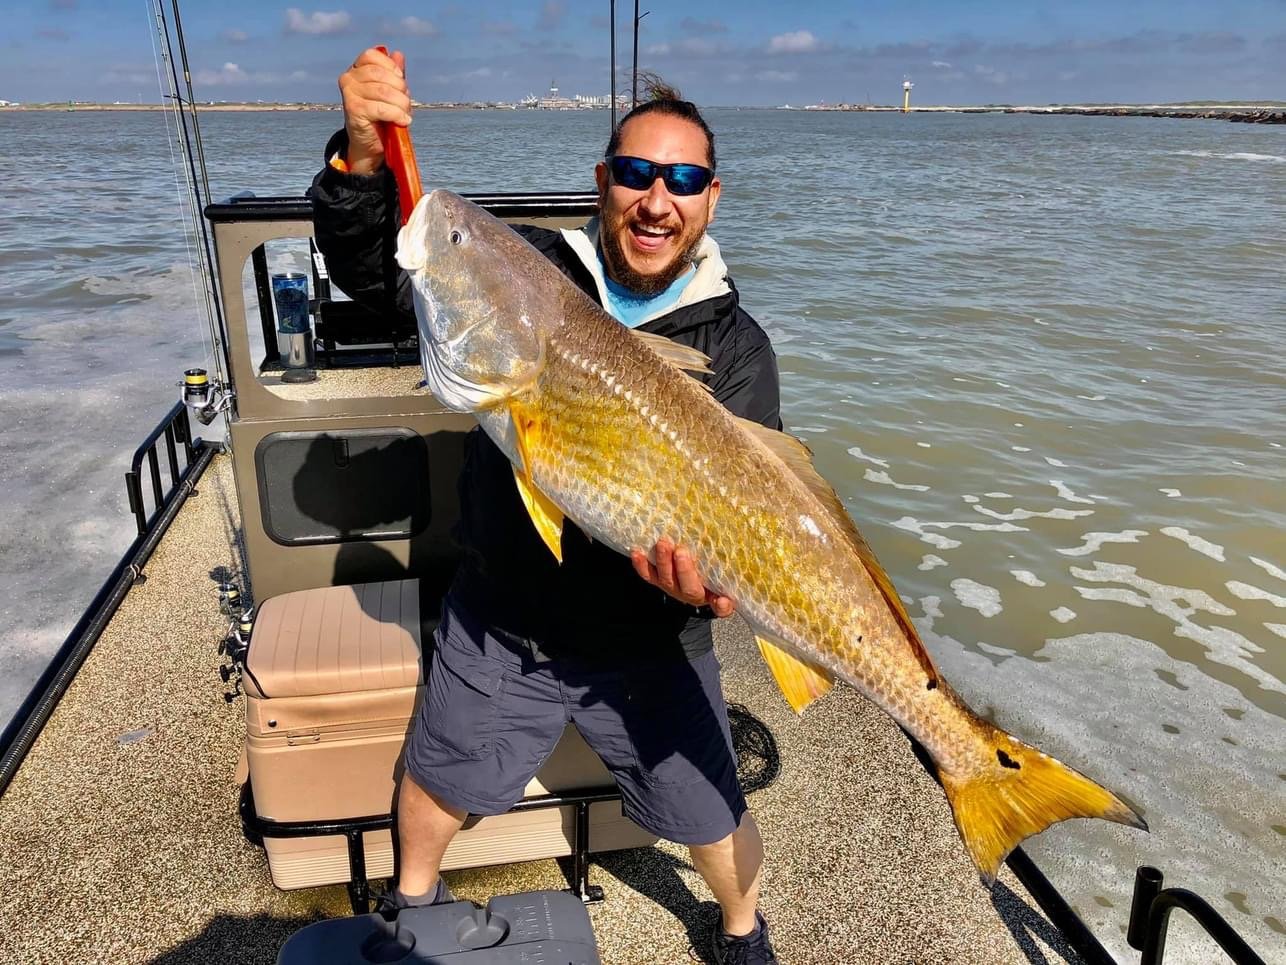
Option 1: The fast hero shot
Best when you want the classic “fish and angler” photo.
Turn your body slightly so the fish is not straight out at arm’s length
Keep the fish level
Keep your hands calm and steady
Smile, one click, done
Option 2: The water-level shot
This is the fish-friendly favorite. Keep the fish in the water, support it gently, and shoot from low angle. It looks clean, it looks natural, and it keeps the fish wet.
Keep Fish Wet’s photo guidance is built around planning the shot first and keeping fish wet as much as possible, then lifting only when everything is ready (Keep Fish Wet fish photography).
Quick lighting wins on a boat
Face the sun, do not put it behind you
Wipe the camera lens (salt spray ruins photos)
Use the water as your background when you can
Release and recovery: send it off strong
A good release looks simple. The fish kicks and swims away with purpose.
Let the fish reset
If the fish is hot from the fight, keep it in the water for a moment while you support it. Point it into gentle flow so water moves over the gills. When it kicks hard, let it go.
Signs the fish is ready
Strong tail kicks
Holds itself upright
Swims away without rolling
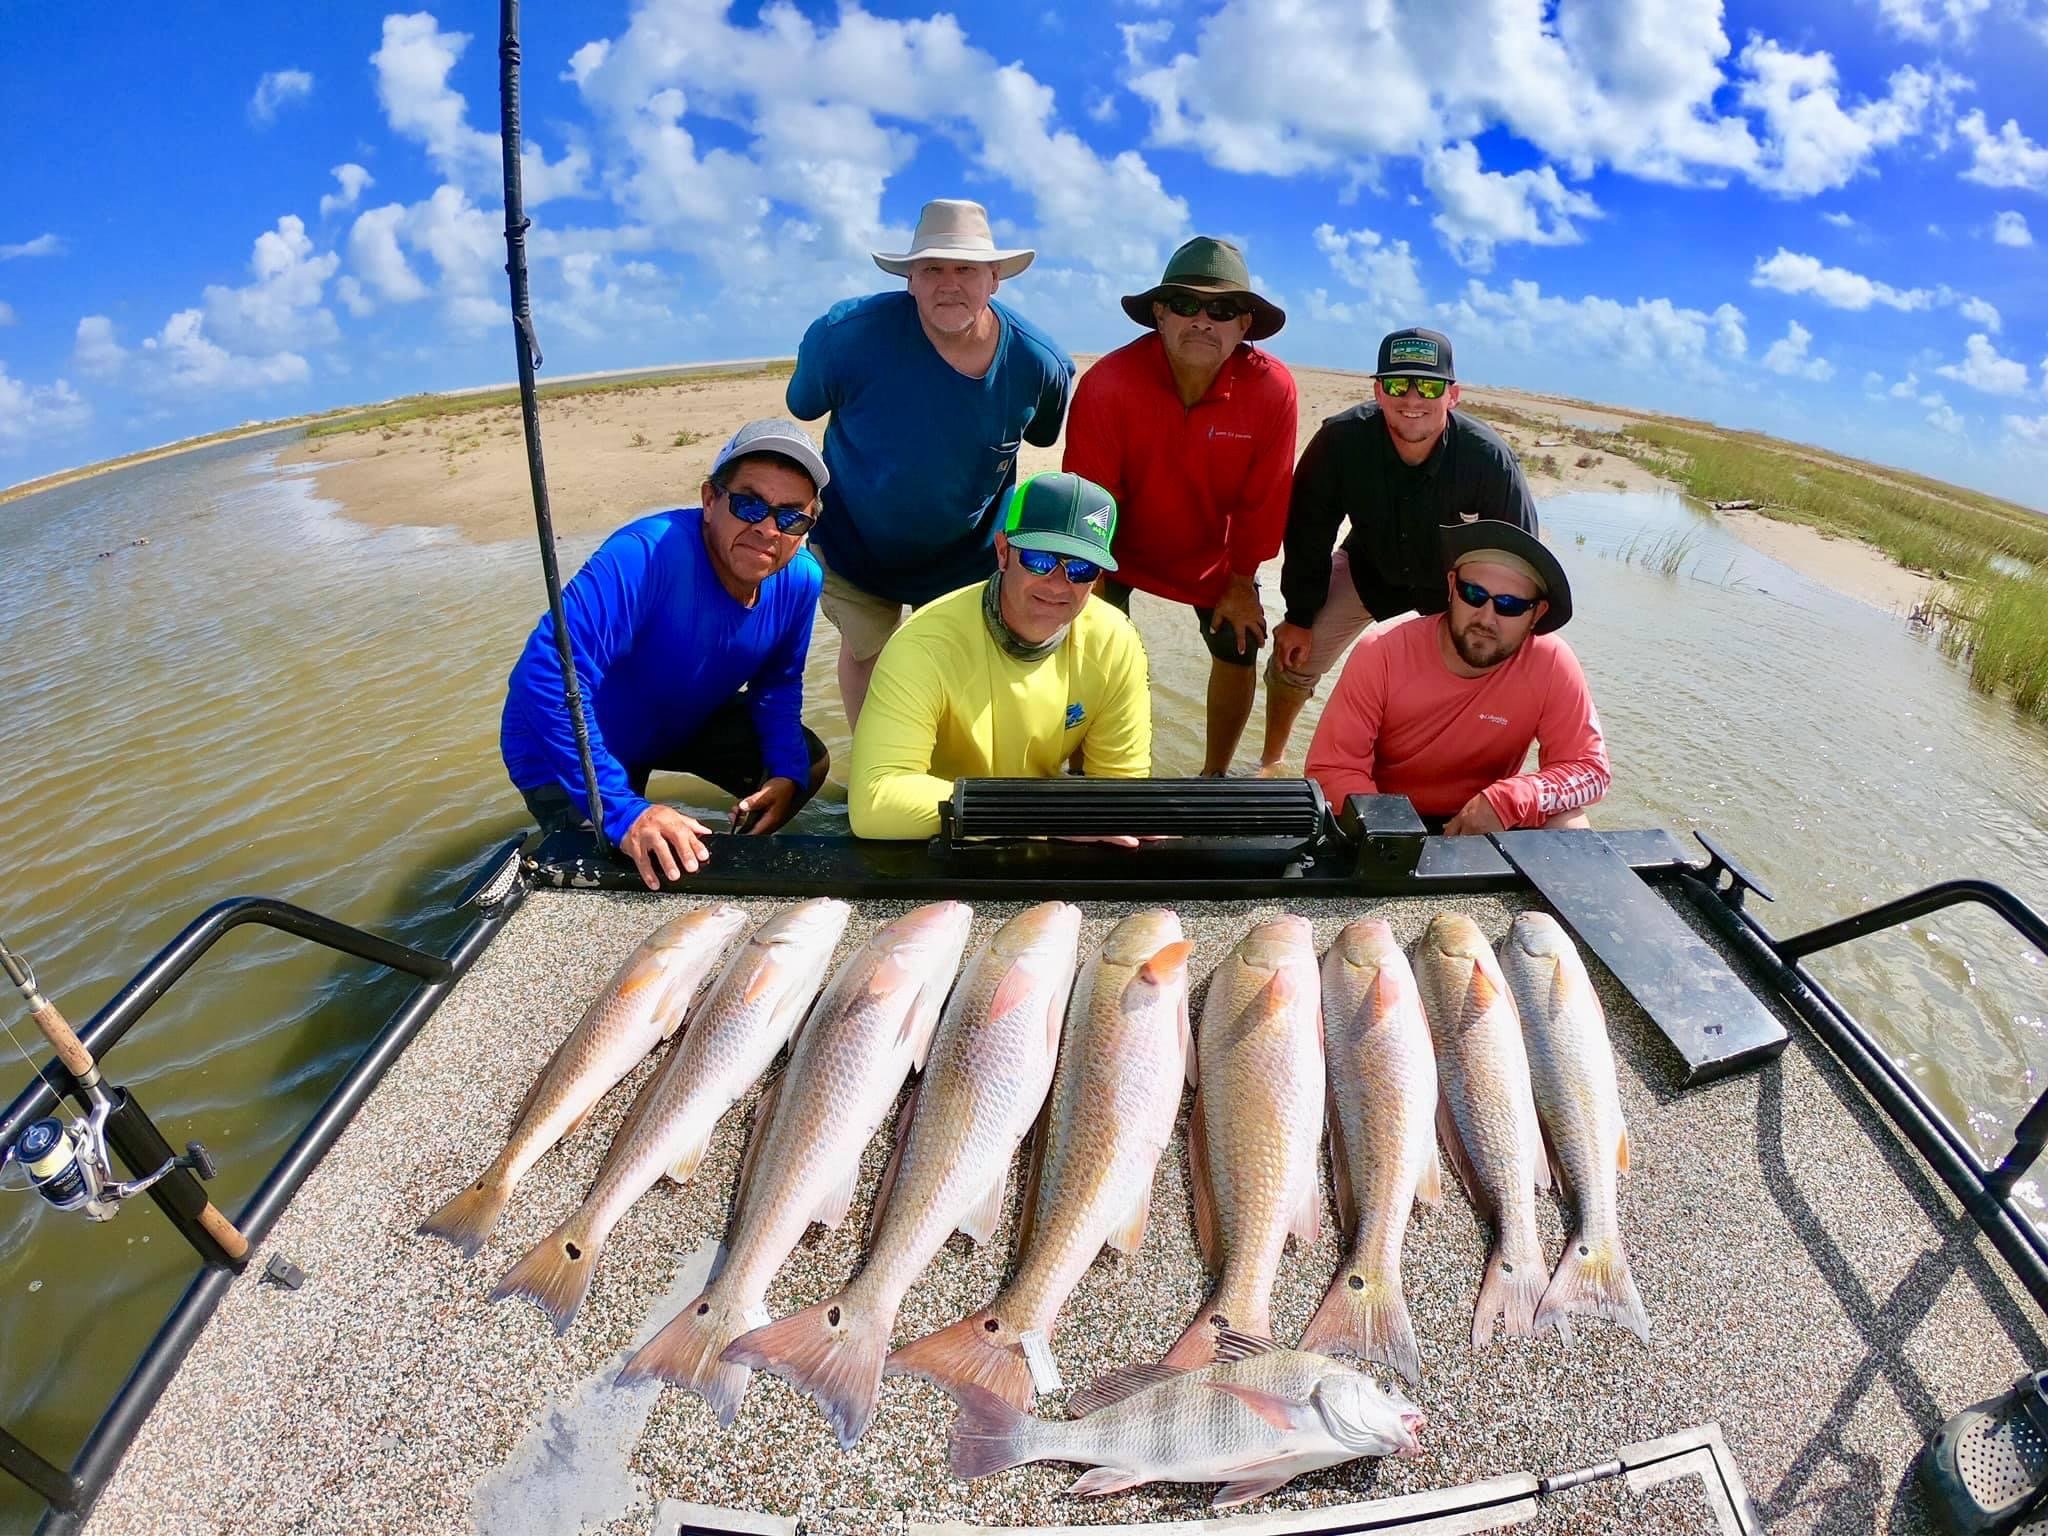
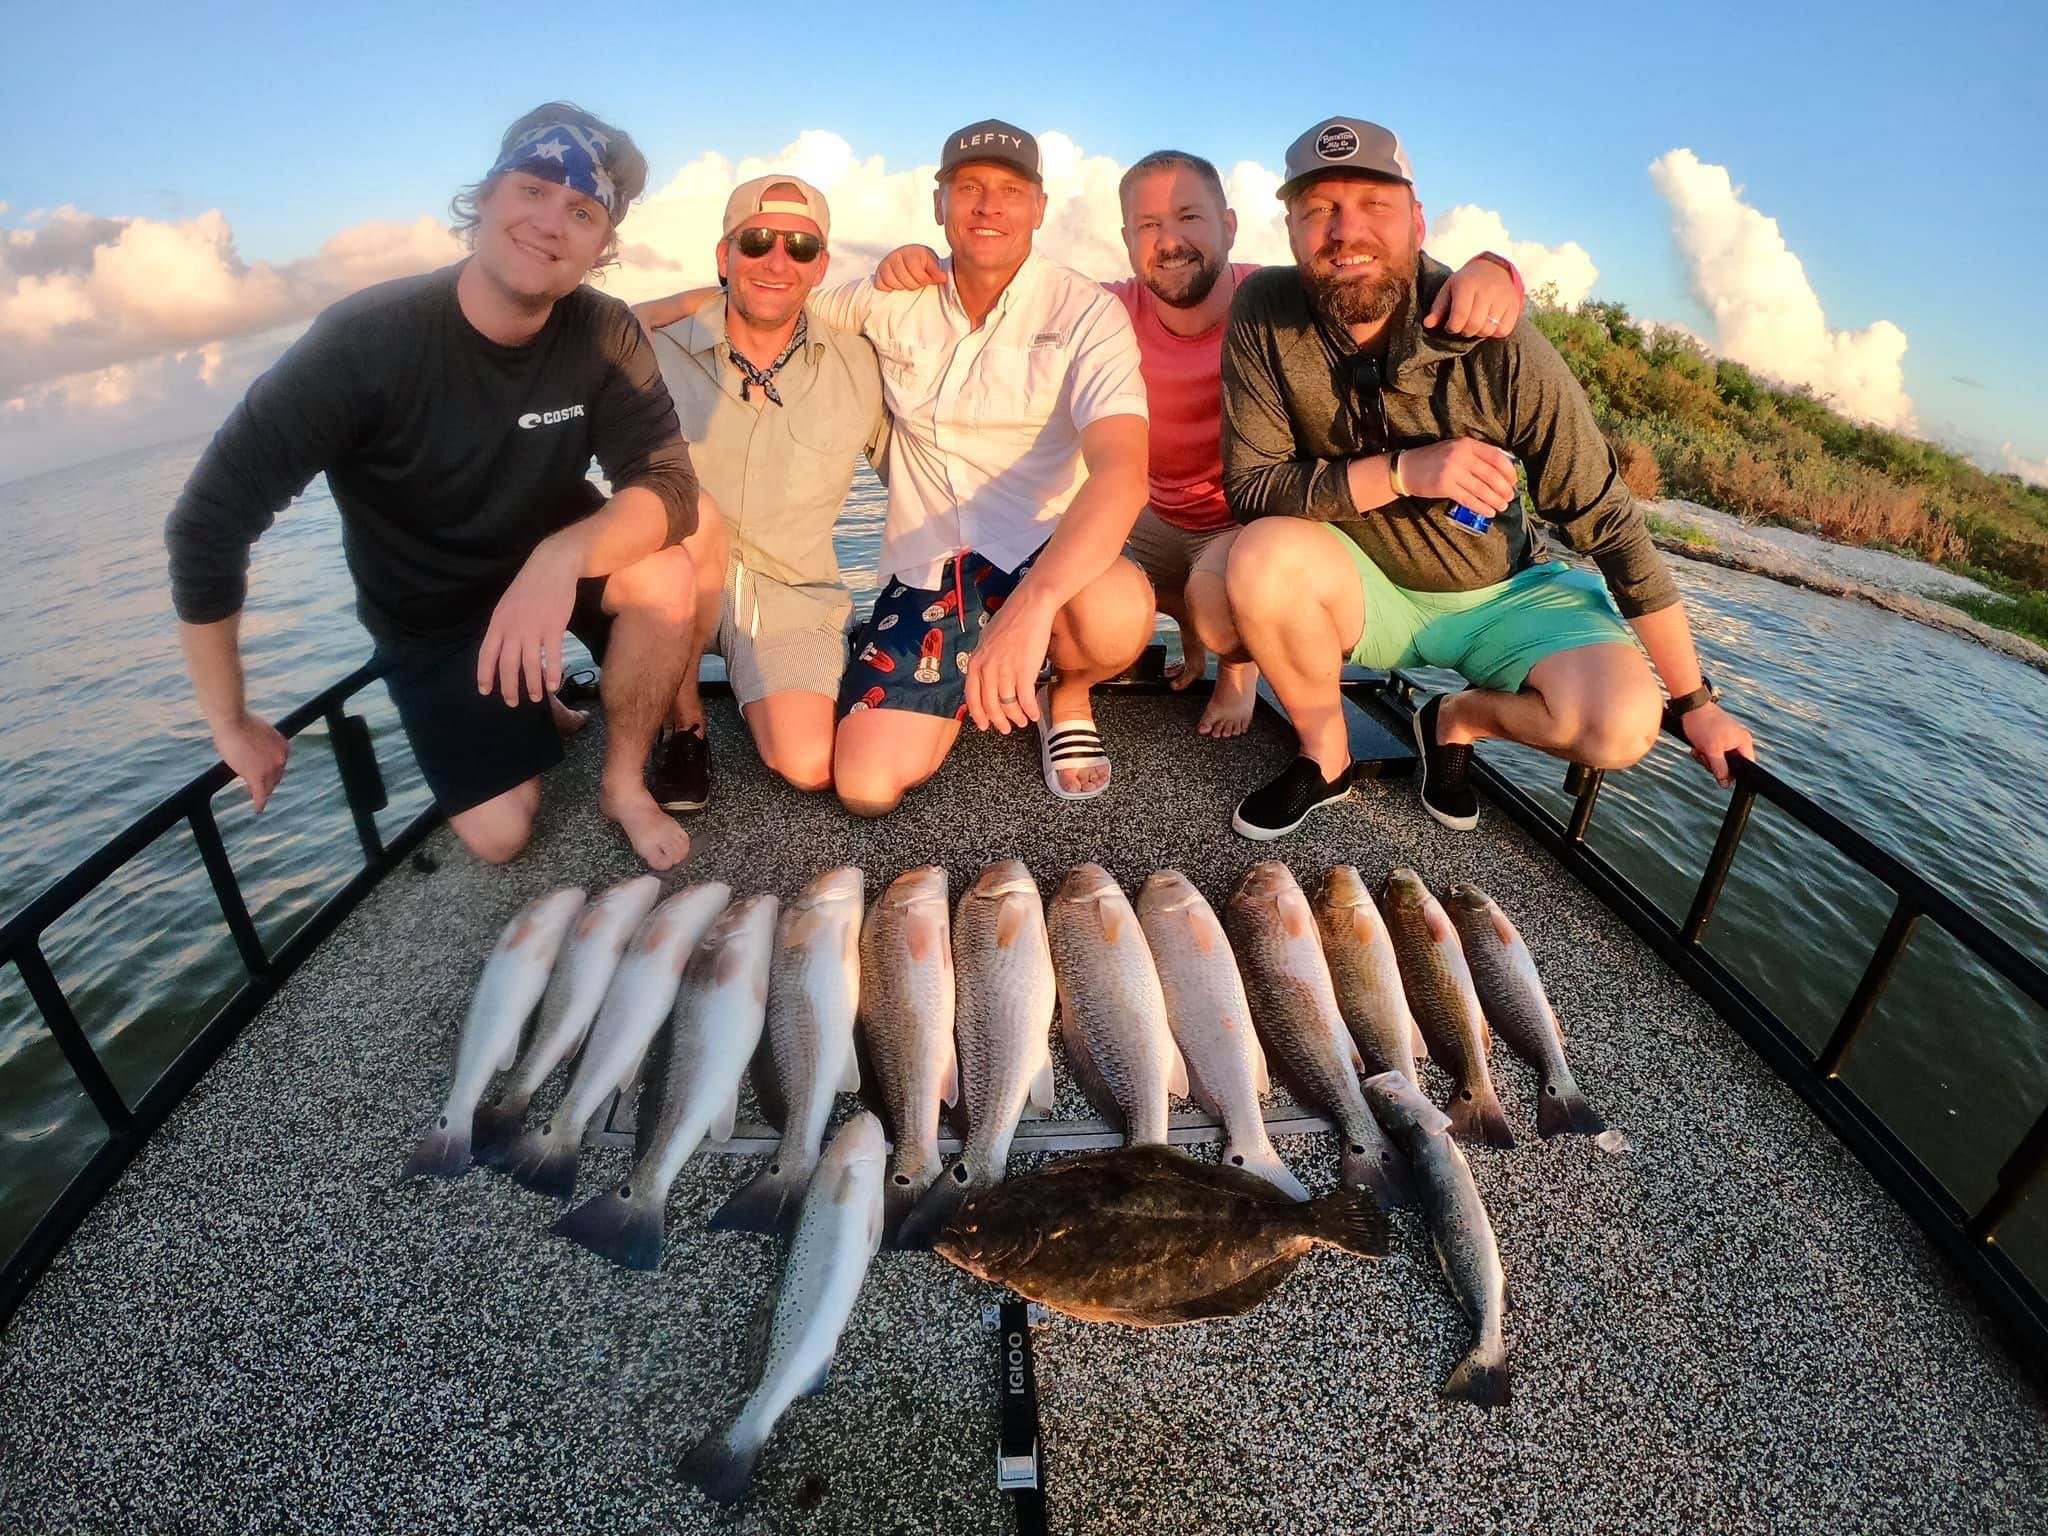
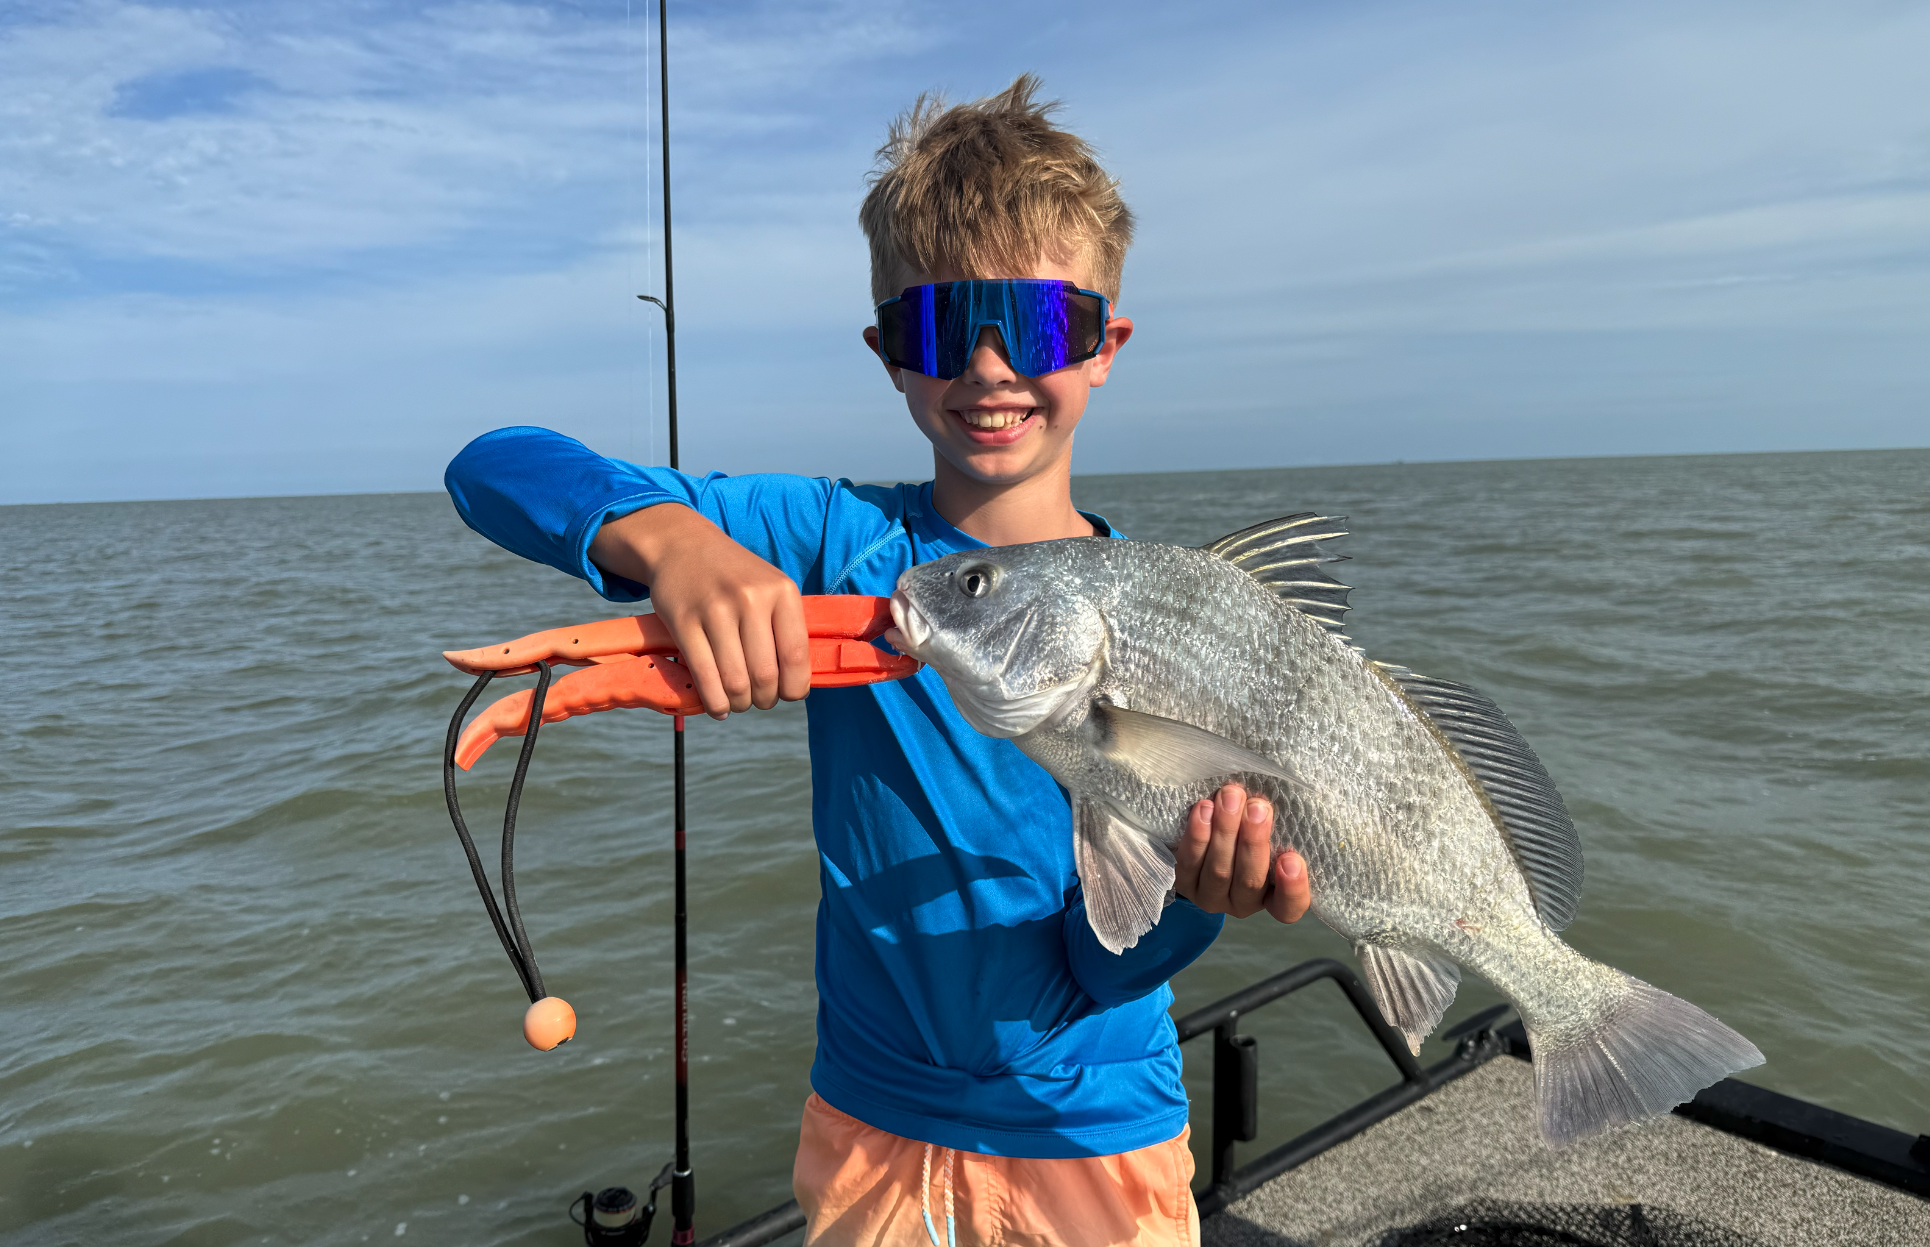
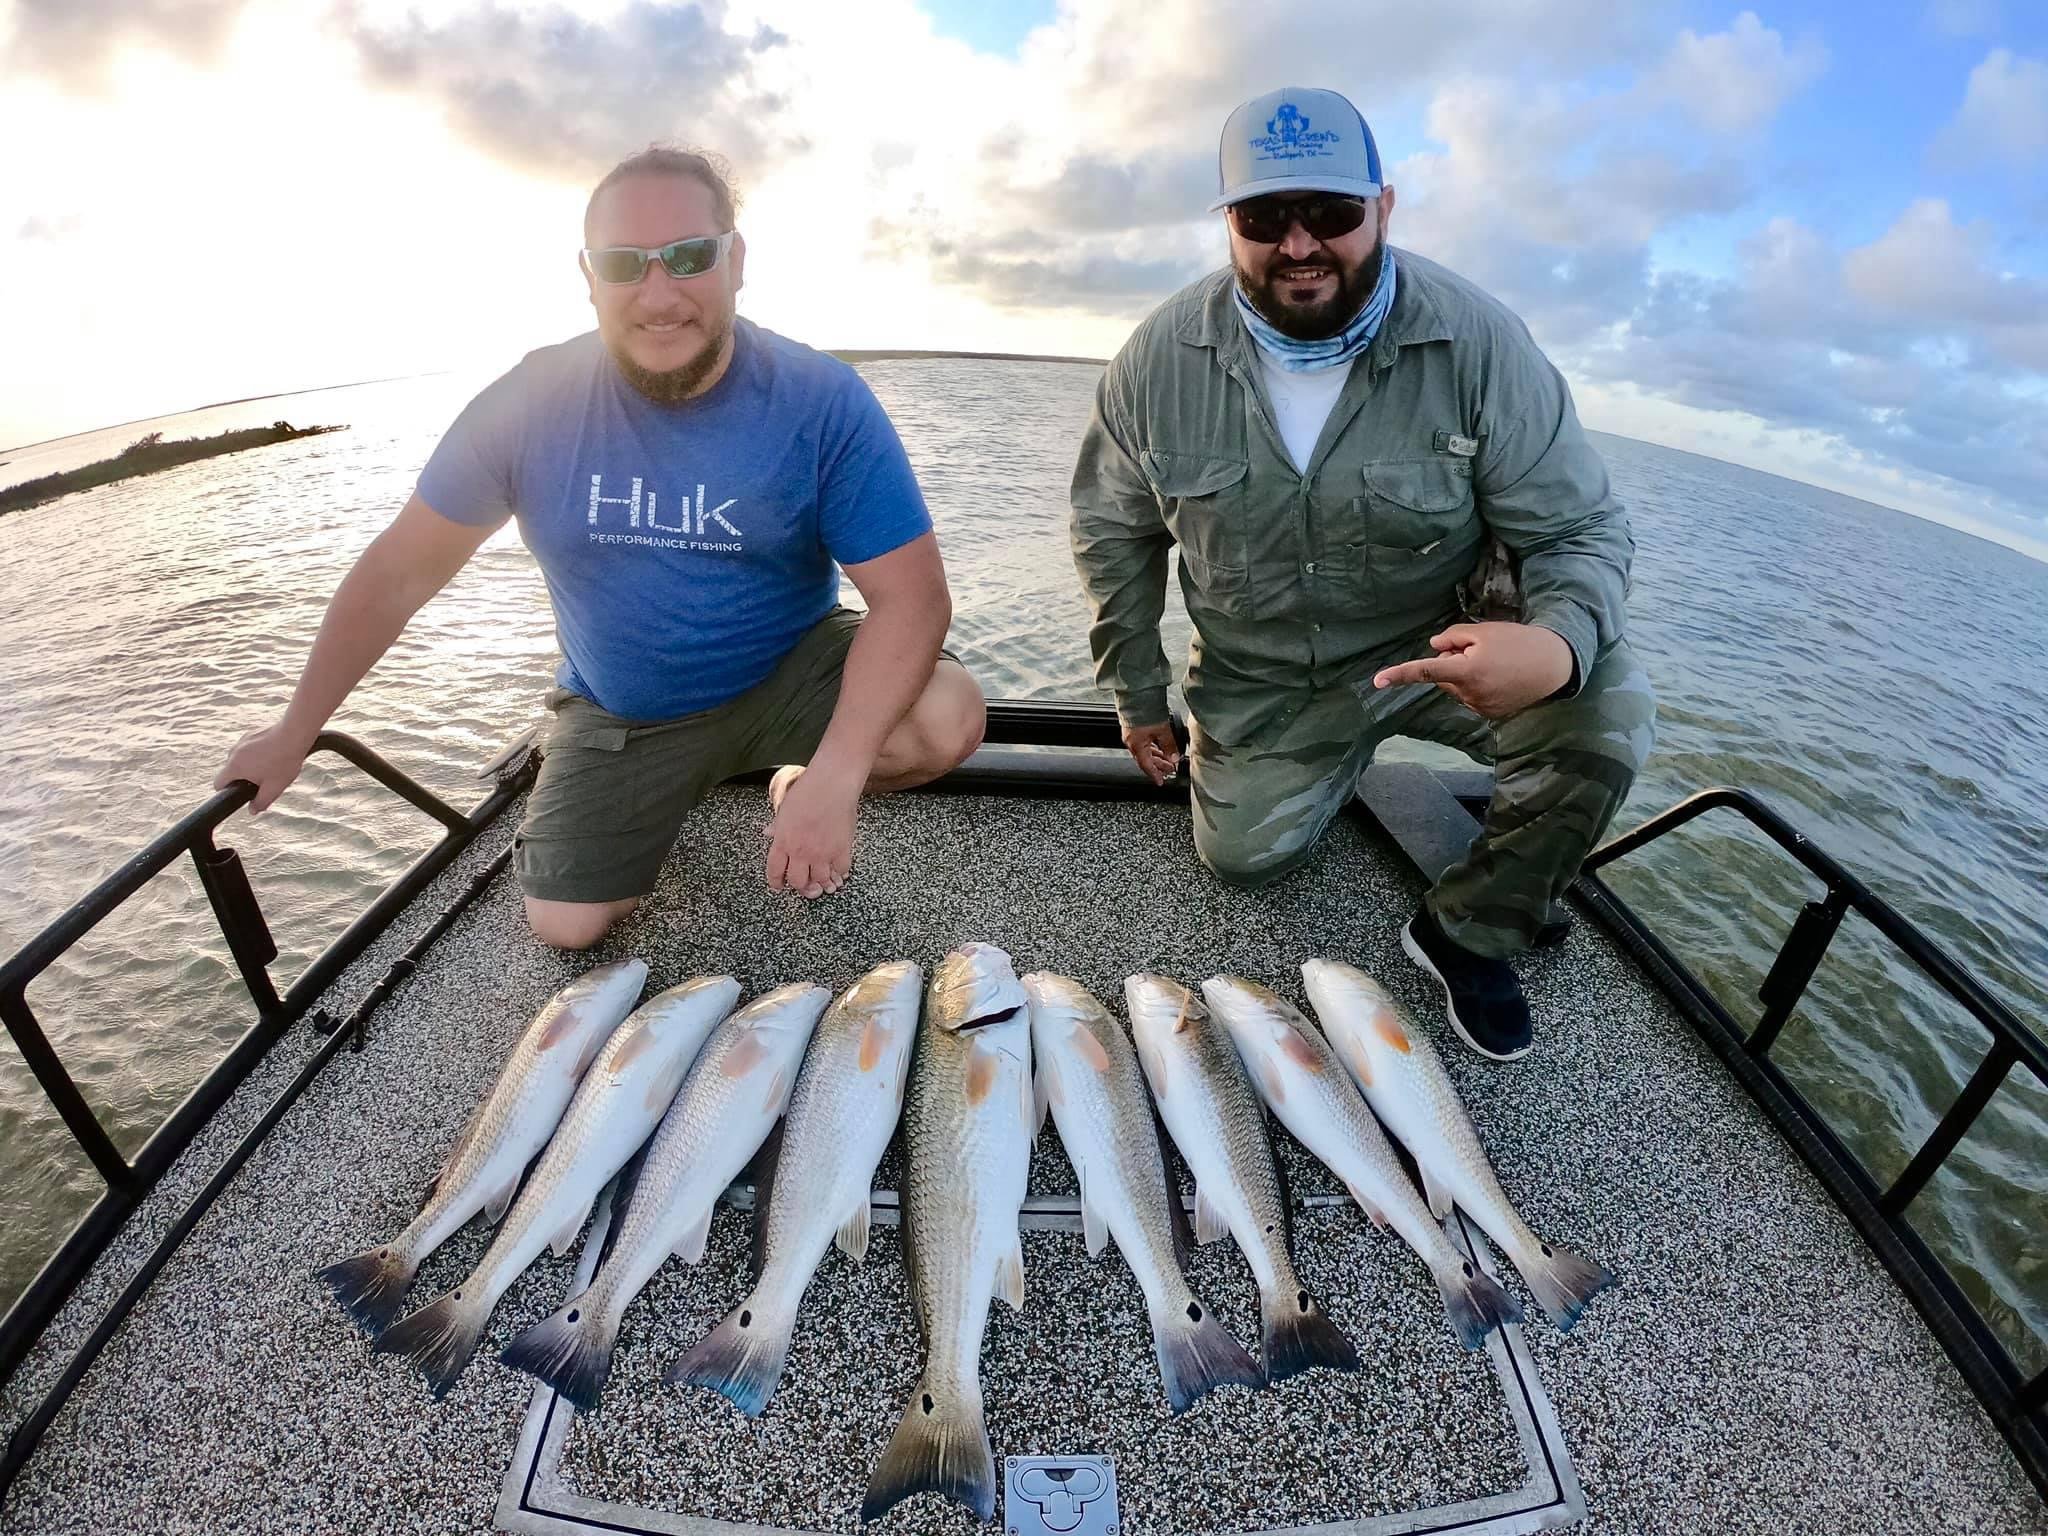
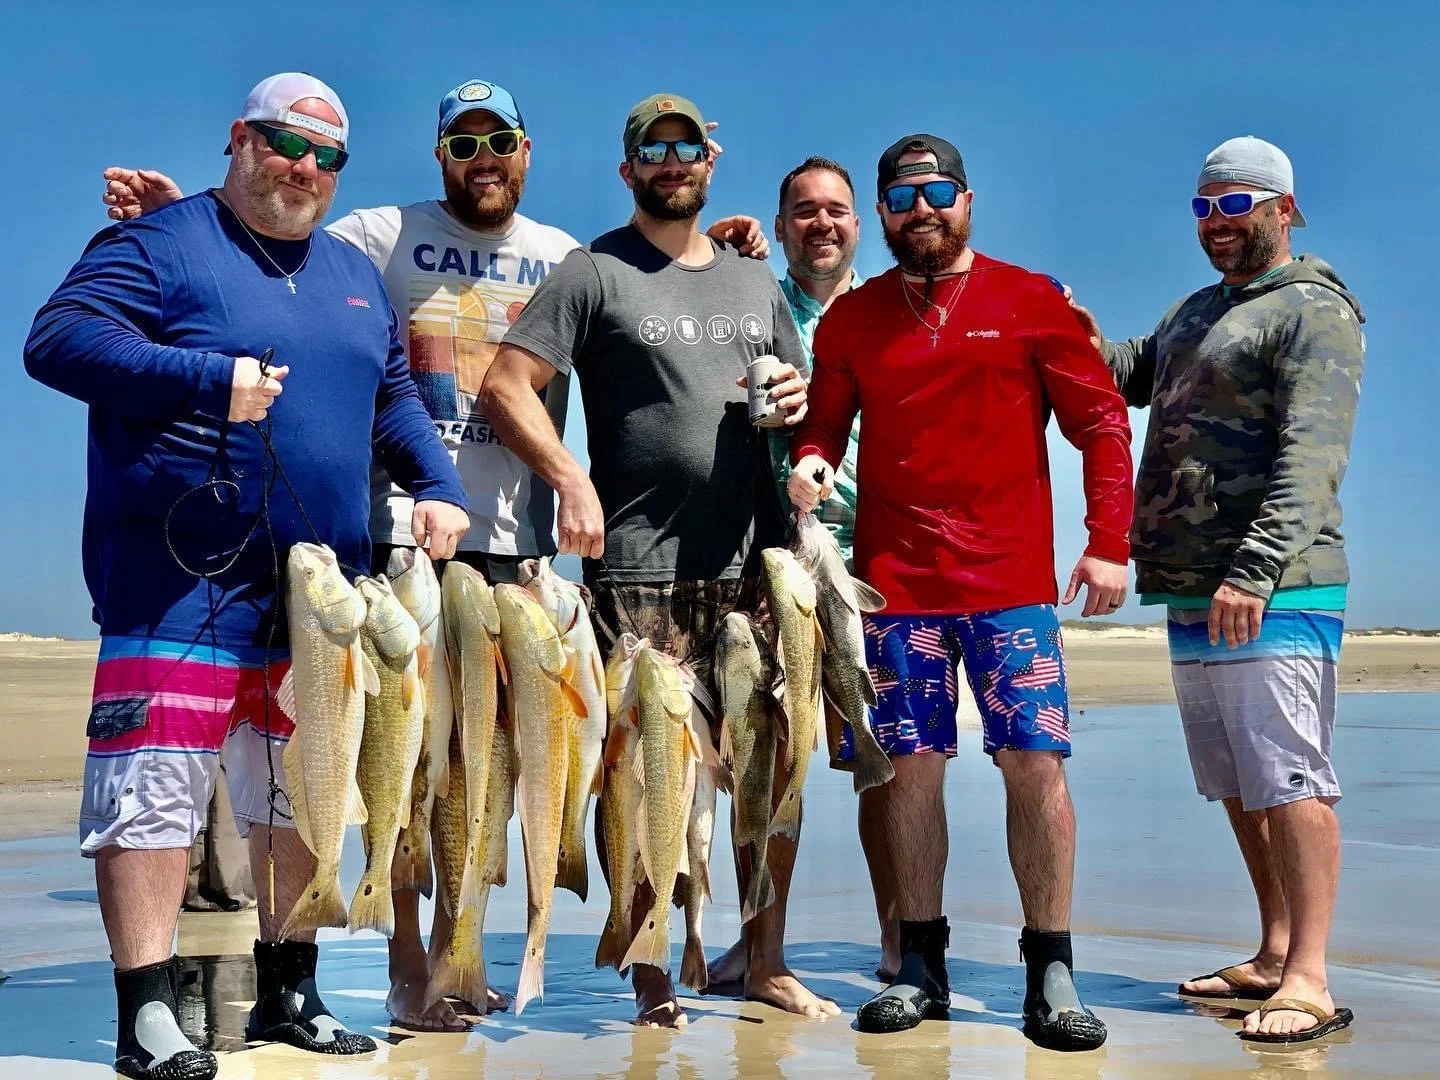
If you are catching reds, trout, or drum around Rockport, this part matters. A strong release today can mean another bite next time.


NOW BOOKING ROCKPORT BAY TRIPS
Want a simple, first-timer-friendly day where the boat is set up for quick handling, clean photos, and healthy releases? Texas Crew’d Sport Fishing keeps it smooth from hookset to release. Contact us and let’s get you on the water.
Frequently Asked Questions
-
Use wet hands, keep the fish level, and support the belly with your second hand. Texas Parks & Wildlife also recommends avoiding contact with eyes and gills while handling (TPWD catch and release tips).
-
Shorter is always better. NOAA’s guidance says to minimize air exposure and notes that keeping it under 60 seconds is ideal when a fish must be lifted (NOAA catch-and-release best practices).
-
Do not force it. IGFA release guidance recommends cutting the leader as close to the hook as possible when the hook cannot be removed cleanly (IGFA release guidelines).
-
A net that controls the fish quickly and avoids extra thrashing helps reduce handling time and stress. Florida FWC’s fish handling guidance stresses using proper gear and limiting handling to reduce stress on fish (FWC fish handling and gear).
-
Get your camera ready before you lift the fish, then take one fast shot and put it back. Keep Fish Wet’s photo guidance focuses on staging the shot first and keeping fish wet as much as possible (Keep Fish Wet fish photography).